


Hihi again friends! 👋🏻 As I continue my journey at the atelier, I realized that there are so much more to learn about leather crafting. So, in this blog post I will share some of the mistakes to prevent when crafting and also some amusing skills I've learnt.
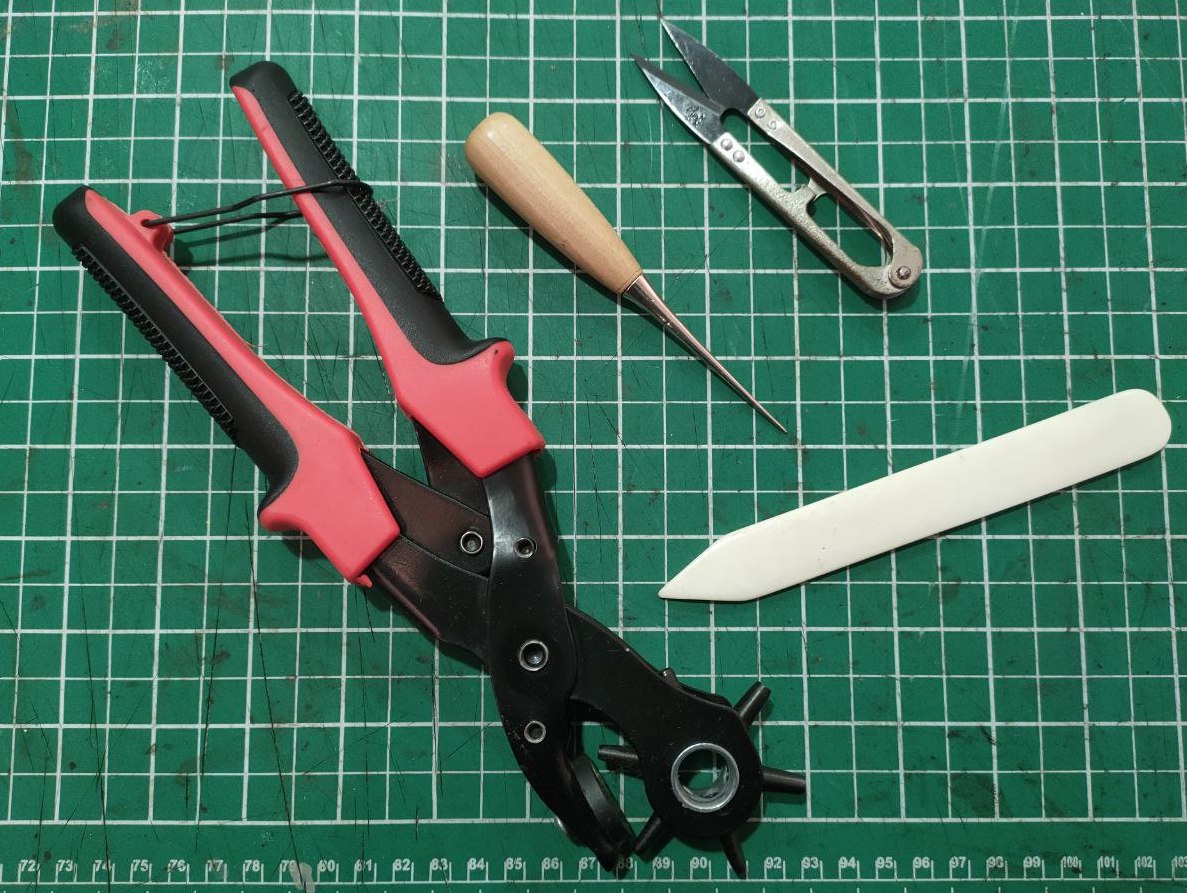
Hole Punching
Hole punching in itself is a simple task to do. However, it can be hard to punch through leather as there bound to be remnants of leftover strips after punching, if the hole was not punched cleanly.
Another point to note is to make sure the base of the hole puncher is a flat surface. As the hole puncher at Crafune is used daily, sometimes when too much strength is used, a dent will be left on the base which leads to an uneven surface and thus making it hard for future users when they want to punch holes as shown in the picture below. So while punching holes do just use an appropriate amount of strength to not damage the hole puncher. 💪🏻

Saddle Stitch
Having some experience with crocheting, using strings feels somewhat familiar to me. Even so, saddle stitching exceeded my imagination and I am amused. Whenever, we teach the steps to saddle stitching, there will always be amusement for a specific step; which is to poke the needle through the thread as shown in the image below. This initially impossible thought when made possible, makes people amazed even me! 🤯 It was so cool and interesting to learn something new and out of the blue.

Another fact about saddle stitching that I learnt was that when one of the stitch comes out, other stitches will continue to stay intact and would not undo itself. Unlike stitches made by sewing machines that will start to be undone one after another when one of the stitch comes out.
Burnishing
To me burnishing was a very foreign term, in leather crafting it is the process of smoothening edges after sanding. This step was one that I remember significantly because I always thought the smooth edges from leather were natural and never thought it was from sanding and burnishing by using burnishing gum. One tip while using the burnishing gum is to apply it slowly along the edges bit by bit to prevent stains from forming on the smooth surface of the leather. After applying, make sure to rub the applied area against the burnishing rod (The dark brown stick in the picture) to smoothen the edge.

(The leather above was before sanding and burnishing while the leather at the bottom is after burnishing)
These are some of the most common steps that are commonly used in leather crafting and thus I hope these important tips will be able to help those that are just beginning to learn leather craft. Till the next time, happy crafting! 🤩


Leave a comment
This site is protected by hCaptcha and the hCaptcha Privacy Policy and Terms of Service apply.