


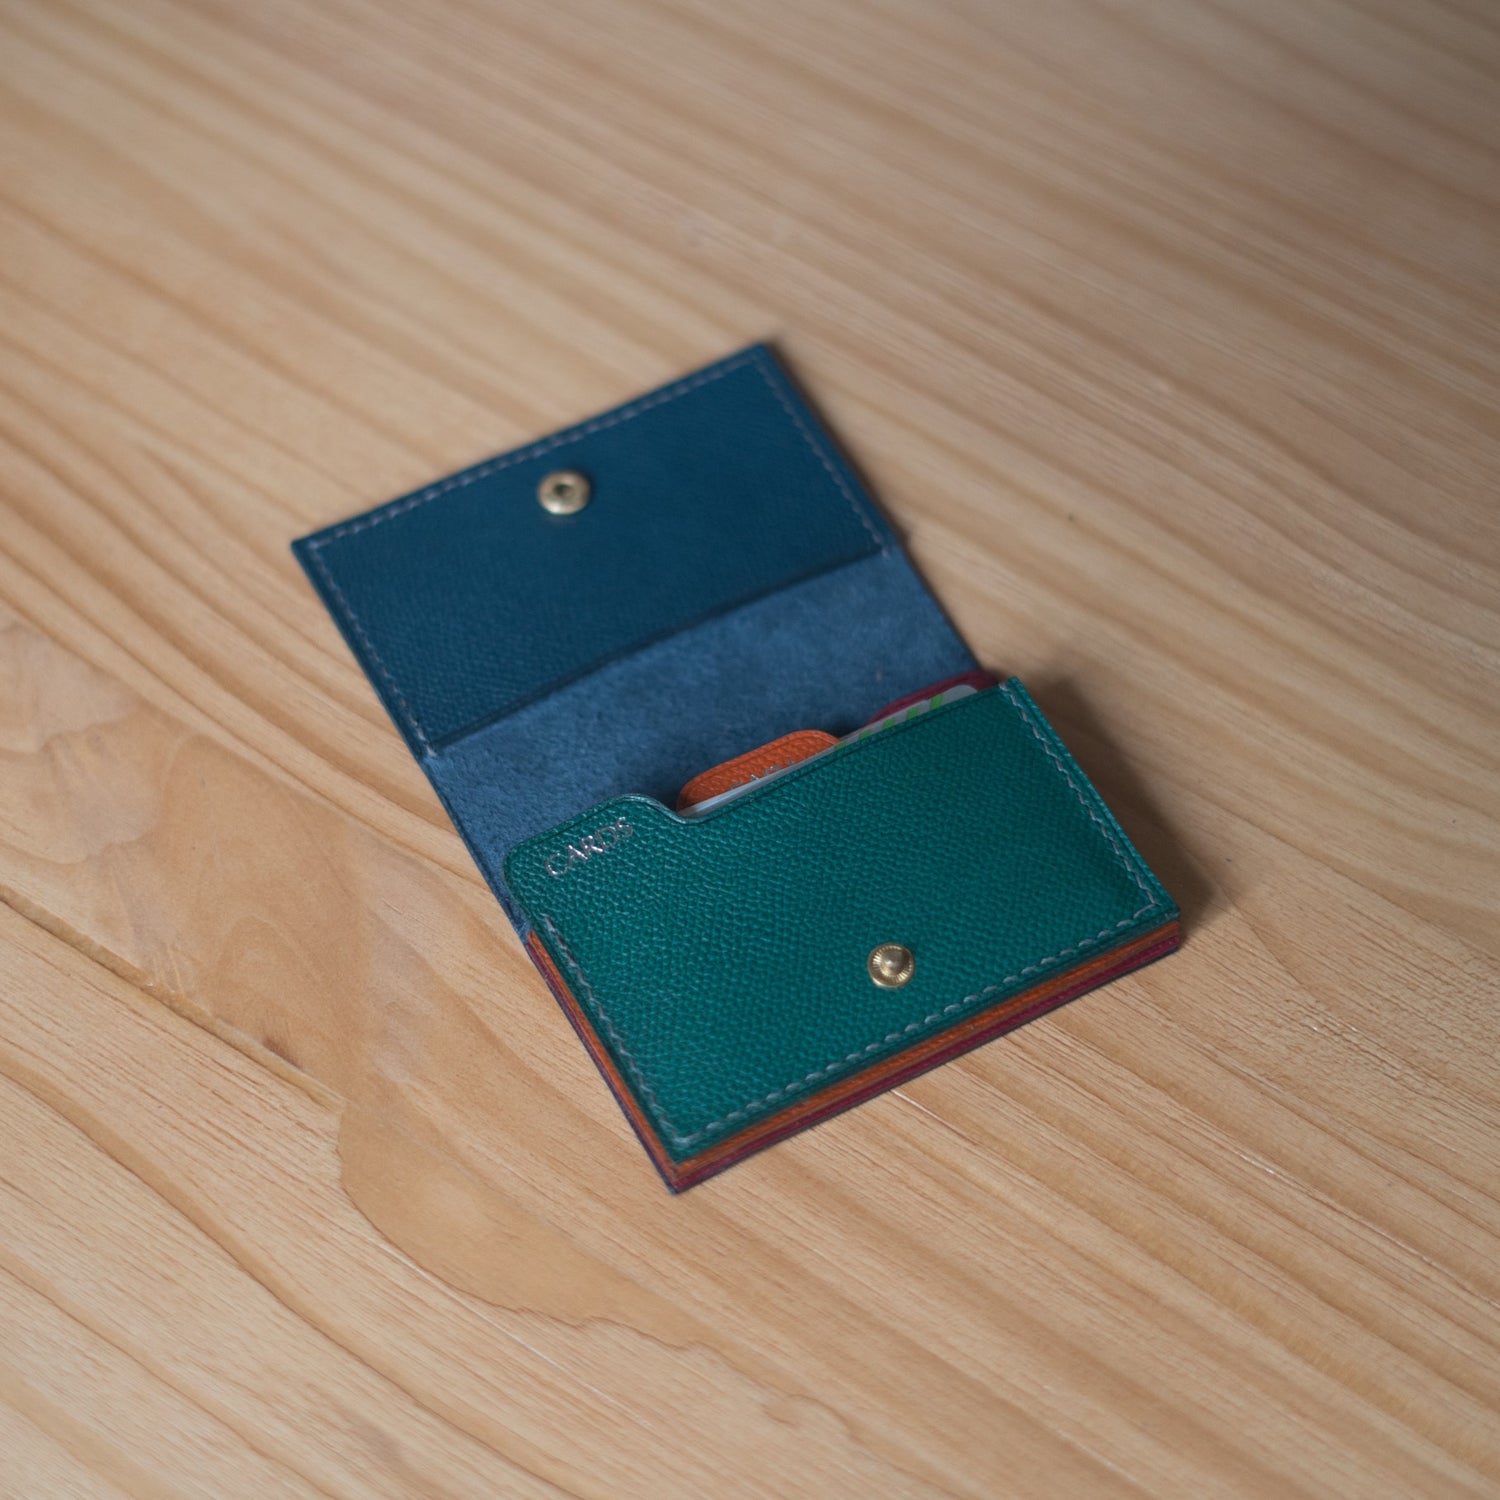
Today's tutorial is for the Accordion Cardholder, it can fit a surprisingly large number if cards.
The template is attached at the end of this tutorial, we recommend looking through all the steps before starting.
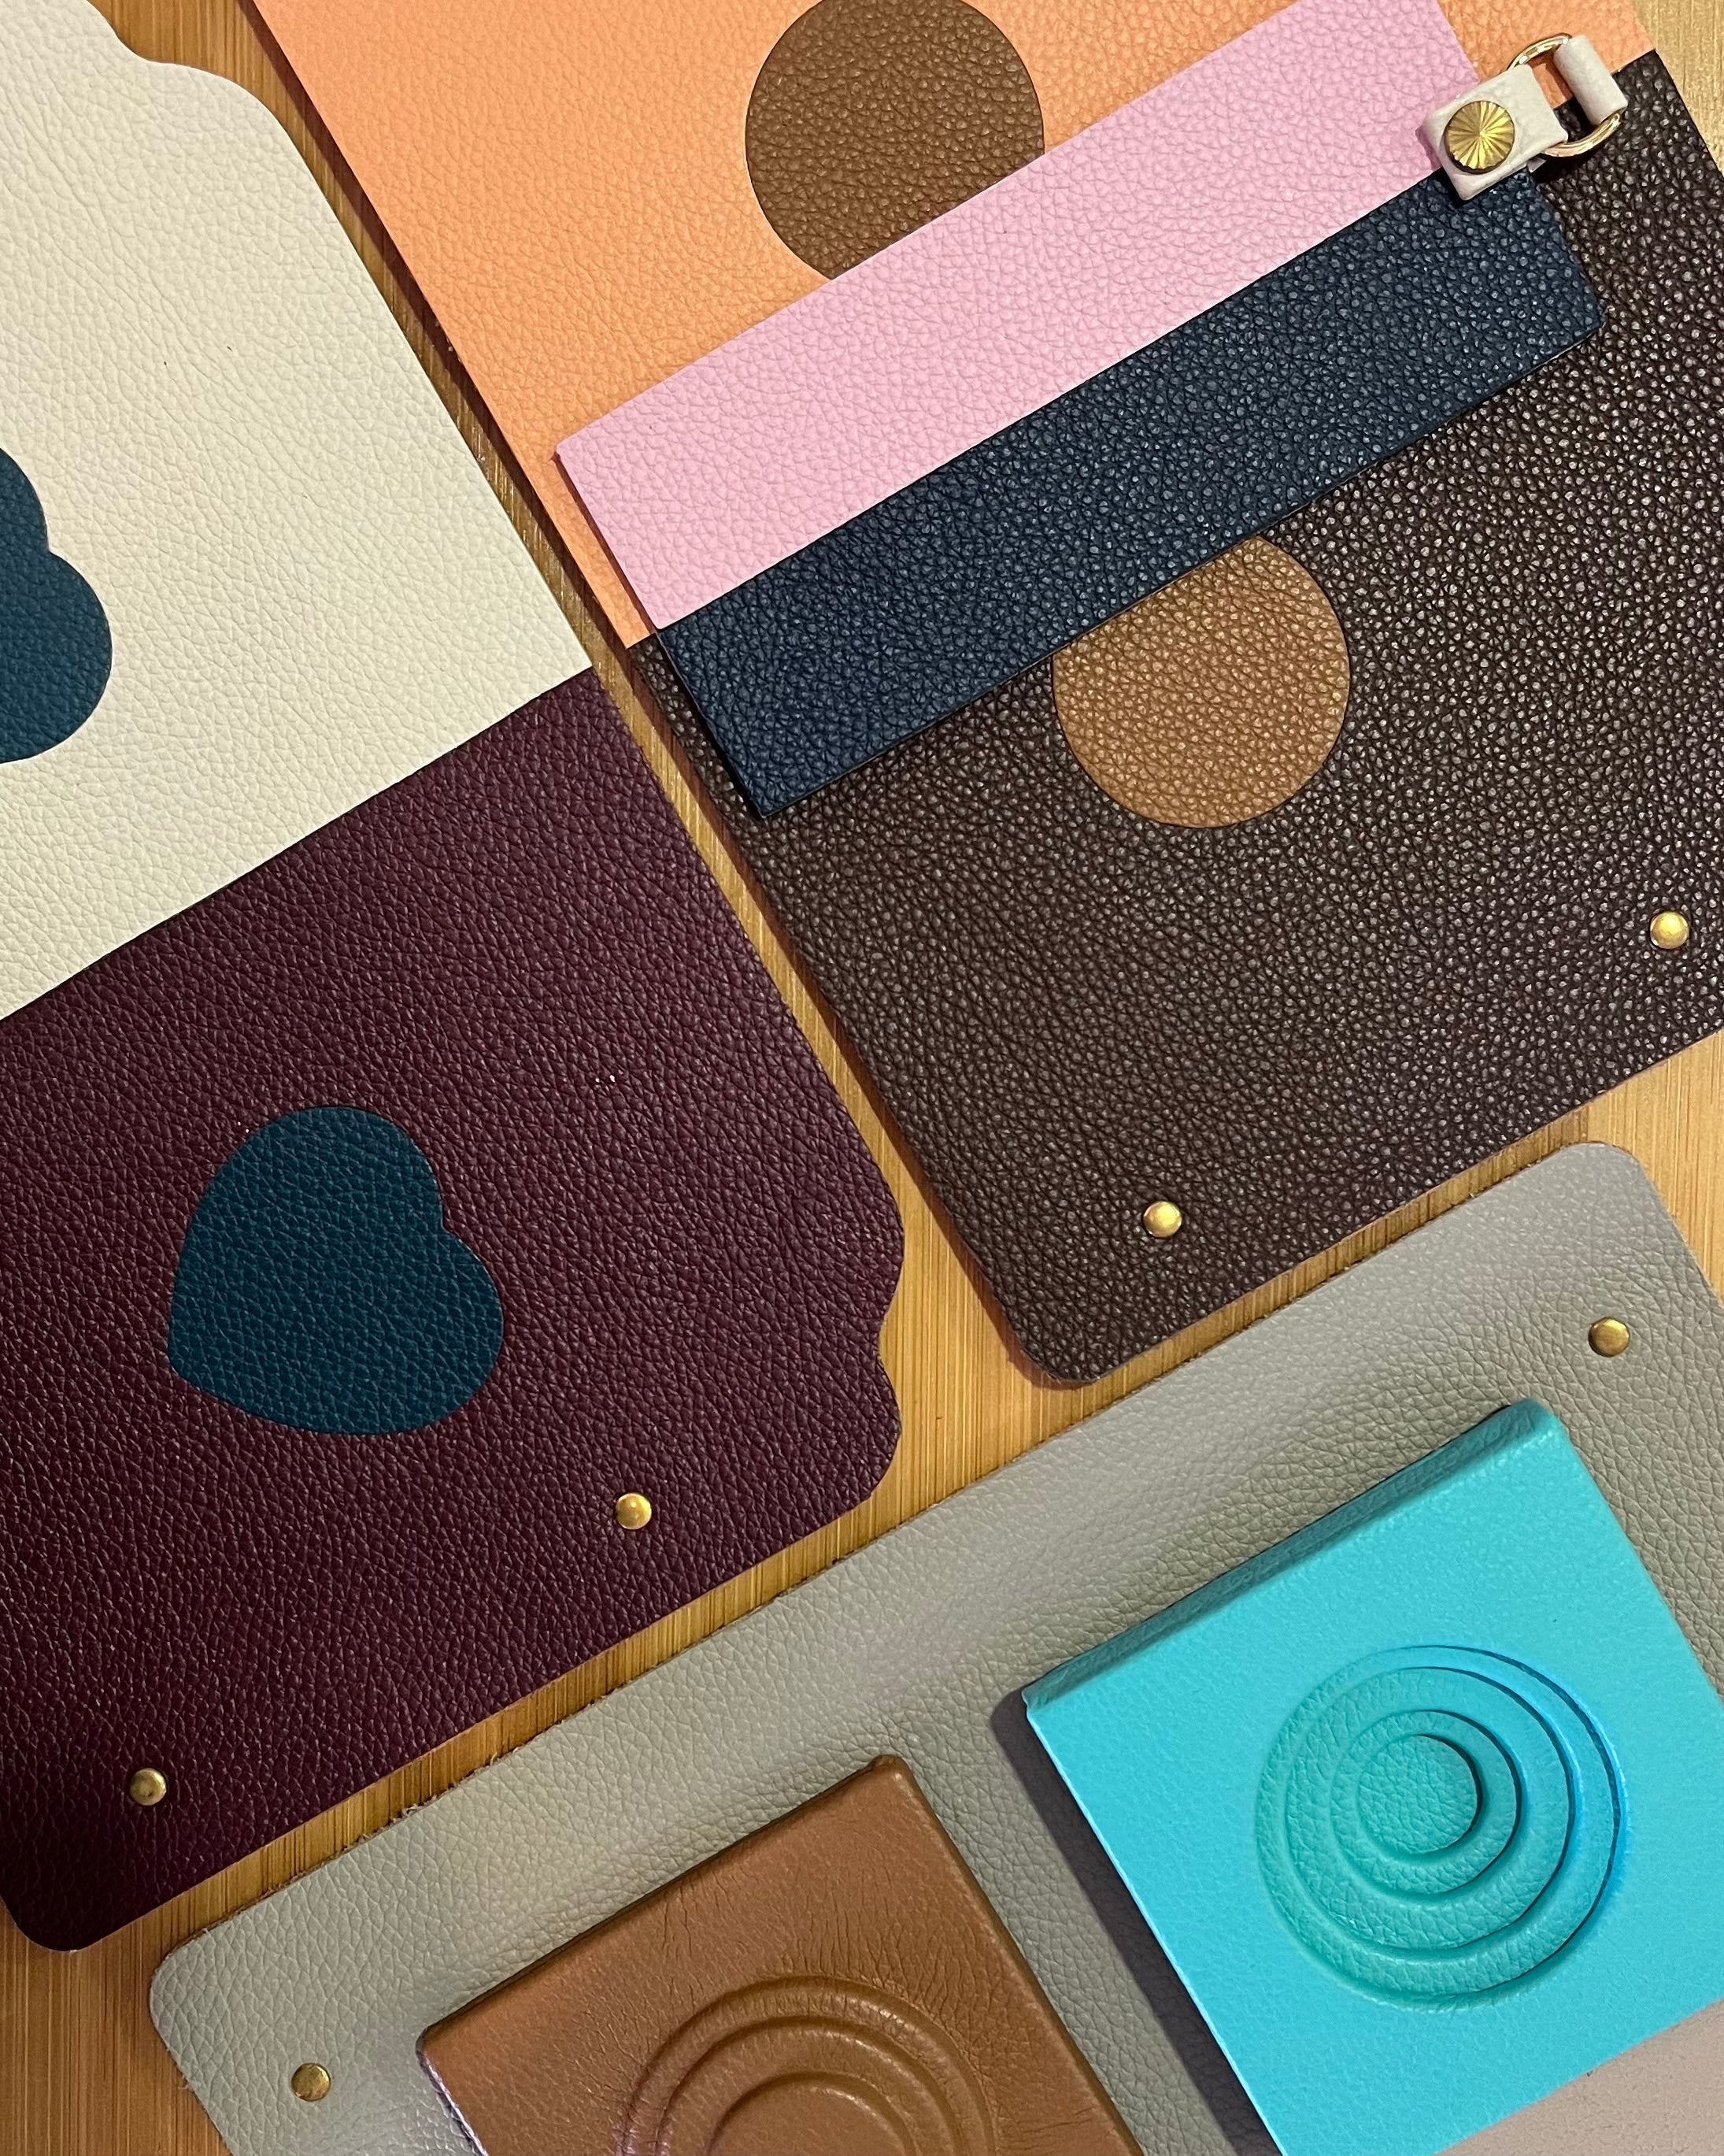
Leather used: Epsom Leather (Epsom leather is softer as compared to heritage leather, but it is still structured)
https://crafune.com/collections/epsom-leather
Time Taken: 3 to 5 hours depending on how fast you stitch
1) Cut template
 |
2) Trace with awl
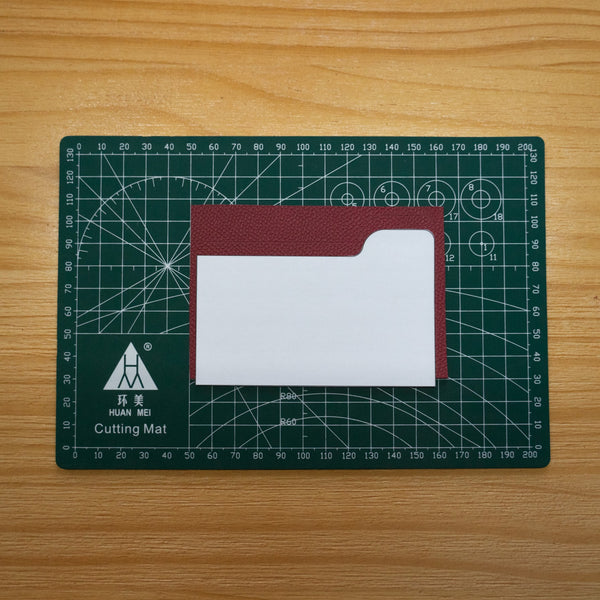 |
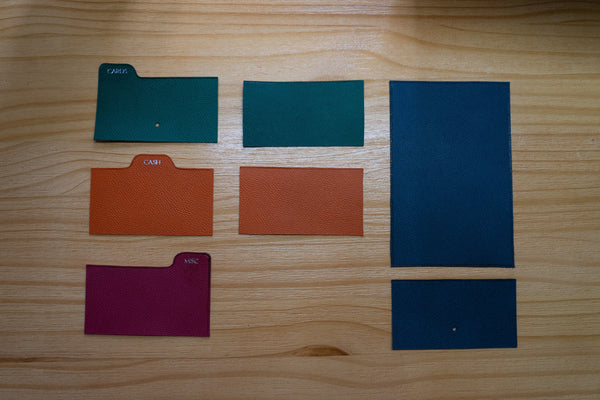
3) Cut leather and punch holes for stitching and buttons
 |
Tip: For the concave parts you can use a single hole punch size 10 to punch the concave portion out before using a penknife. |
4) Crease line (optional) - Personalization (optional), Sand and Burnish
 |
 |
Pink - Crease (optional), Sand and BurnishPurple - Crease (optional) |
6) Use a wing divider to mark out stitching line, use a diamond chisel to punch out stitching holes.
 |
 |
Green - Mark out stitching lines and punch stitching holes |
Tip: Use stitching hole matching technique - mark out the centre of each piece on the horizontal edge, start punching stitch holes from the centre. |
7) Center and Mark out U-Shape - Glue - punch stitching hole for u-shape
 |
 |
Yellow - where U-shape should be marked out, aligned to the top of the leather, in the centre |
 |
Over here we placed the glue on the outside of the u-shape, however we do recommend placing the glue on the inside of the u-shape.After gluing down the pieces, punch the stitching holes along the u-shape.You should get something as seen below. |
 |
 |
Green - Punch stitching holes |
8) Draw stitch line and punch stitching hole on bottom half of the large rectangular piece
 |
This is the same process as step 6. The holes should be aligned to the red piece, the red piece and large rectangle will be stitched together at the end. |
9) Set Button
 |
We will be setting the buttons accordingly. The end results are below. |
 |
10) Apply glue to the top half of the large rectangular piece (the side which holes have yet to be punched), stick to small rectangular piece.
 |
11) Use wing divider to mark out stitch lines, punch stitching holes. There should be an additional hole for stitching right above the edge of the small rectangle.
 |
Green line - draw stitch lines, punch stitching holes, extra hole at the arrows |
12) Saddle stitch u-shape and button side for large rectangle piece.
 |
Yellow - Saddle Stitch accordinglyYou should get the following pieces after stitching. |
|
 |
13) Stitch the following pieces together
 |
 |
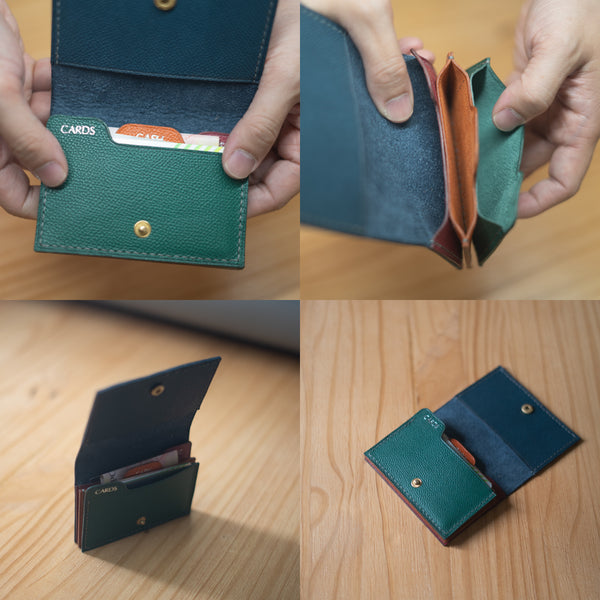
Your wallet should be done following this step.
14) Crease (optional) Sand and Burnish.
End Product
Leave a comment
This site is protected by hCaptcha and the hCaptcha Privacy Policy and Terms of Service apply.